Day 5 – Build a 2-Tier Network in AWS VPC from Scratch | #100DaysOfMultiCloud
Welcome to Day 5 of my 100 Days of Multi-Cloud journey! Today will Build a 2-Tier Network in AWS VPC from Scratch 🚀
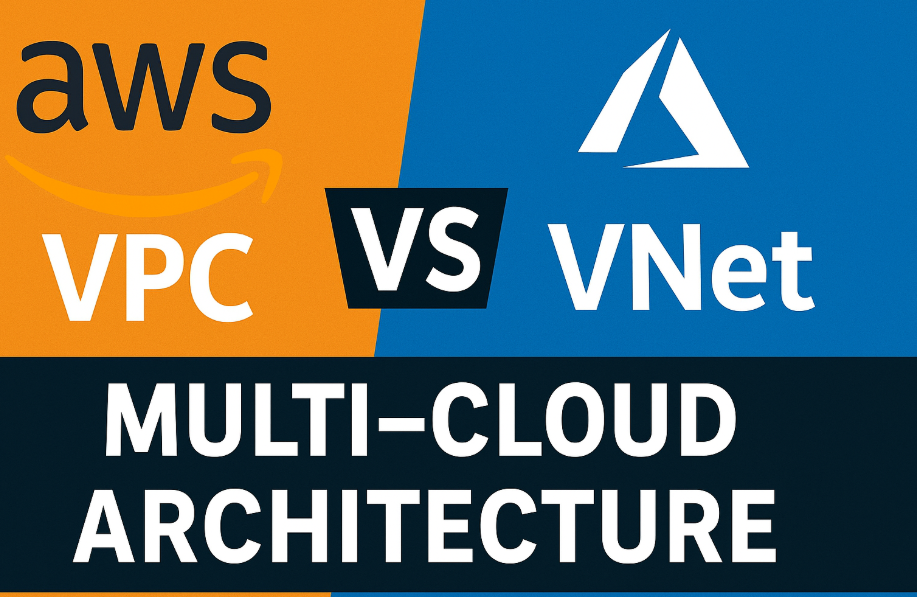
Today, we dive into one of the most fundamental but powerful AWS concepts — building a secure, production-grade 2-tier VPC with a public subnet for the frontend and a private subnet for the backend.
This hands-on project walks you through how real companies build secure networking infrastructure using:
✅ Custom VPC
✅ Public & private subnets
✅ Internet Gateway & NAT Gateway
✅ Route tables
✅ Security groups
✅ EC2 frontend and backend servers
✅ Internal communication testing
🧠 What You’ll Learn
By the end of this post, you’ll know:
How to build a custom VPC architecture
The difference between public and private subnets
How to use NAT Gateway to allow outbound access without exposing your backend
How to properly configure route tables and security groups
How to test internal EC2-to-EC2 communication
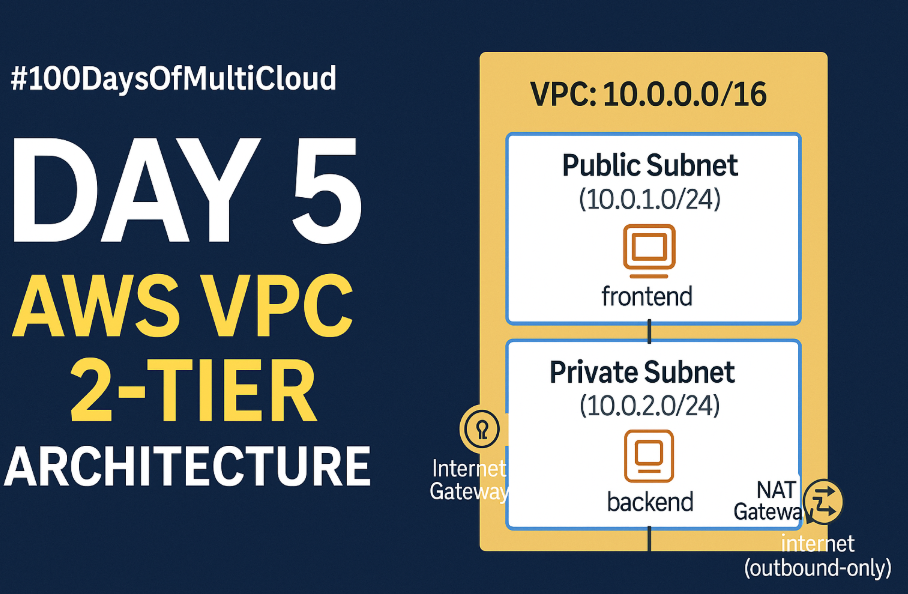
🧭 Architecture Overview
We’re building a 2-tier network like below:

🌐 Step 1 – Create the VPC
Go to AWS Console → VPC → Your VPCs → Create VPC
Choose “VPC only”
Name:
day4-vpcCIDR block:
10.0.0.0/16Click Create VPC
🗣️ “This is our cloud data center. The 10.0.0.0/16 range gives us up to 65K IPs!”
🌍 Step 2 – Create Public and Private Subnets
🔸 Public Subnet
Name:
public-subnet-aAZ: ap-south-1a
CIDR:
10.0.1.0/24Enable auto-assign public IP
🔸 Private Subnet
Name:
private-subnet-aCIDR:
10.0.2.0/24No public IPs
🗣️ “Public subnet is where internet-facing servers live. Private subnet is internal-only.”
🚪 Step 3 – Internet Gateway
VPC → Internet Gateways → Create
Name:
day4-igwAttach to VPC:
day4-vpc
🗣️ “IGW is like a door to the internet for our public subnet.”
🌐 Step 4 – NAT Gateway + Elastic IP
4.1 Allocate Elastic IP
EC2 → Elastic IPs → Allocate → Name: day4-nat-eip
4.2 Create NAT Gateway
VPC → NAT Gateways → Create
Name:
day4-nat-gwSubnet:
public-subnet-aElastic IP:
day4-nat-eip
🗣️ “NAT Gateway lets private subnet go outbound to internet but blocks incoming traffic.”
🛣️ Step 5 – Configure Route Tables
🔸 Public RT
Name:
public-rtRoute:
0.0.0.0/0 → IGWAssociate with:
public-subnet-a
🔸 Private RT
Name:
private-rtRoute:
0.0.0.0/0 → NAT GatewayAssociate with:
private-subnet-a
🗣️ “Route tables control where traffic flows. Public = IGW. Private = NAT.”
🔐 Step 6 – Create Security Groups
frontend-sg
Inbound:
HTTP (80) → 0.0.0.0/0
SSH (22) → Your IP
Outbound: Allow all
backend-sg
Inbound:
TCP (8080) → Source:
frontend-sg
Outbound: Allow all
🗣️ “This ensures backend is isolated. Only frontend can talk to it.”
💻 Step 7 – Launch EC2 Instances
🔸 Frontend EC2 (in public subnet)
AMI: Amazon Linux 2023
Type: t3.micro
Subnet:
public-subnet-aSG:
frontend-sgAuto-assign Public IP: Yes
User Data:
🔸 Backend EC2 (in private subnet)
Subnet:
private-subnet-aSG:
backend-sgNo public IP
User Data:
🧪 Step 8 – Test Everything
✅ Frontend Web Test
Expected: "AWS Frontend Server - Day 4 Multi-Cloud"
✅ Frontend → Backend
SSH into frontend, then:
Expected: "Hello from AWS Backend in Private Subnet"
✅ Backend → Internet
From backend (SSH from frontend):
Expected: NAT Gateway public IP
🎯 What You Built Today
✅ A fully working AWS VPC
✅ Subnet planning and routing
✅ Public + private tier separation
✅ Internal EC2-to-EC2 secure comms
✅ Secure, job-ready networking architecture!
🎁 Bonus Resources
📺 Video Tutorial: https://youtube.com/@TechCareerHubs
🌐 Blog Home: https://techcareerhubs.com